


Deposit at Phtaya: Pick the Right Route, Avoid Delays
Deposit at Phtaya is built around a simple idea: Choose a payment route, enter the amount, complete the transfer, then confirm that the money reaches your balance. The steps are short, but details such as using a fresh QR code and matching the exact amount can make the difference between a smooth transaction and an unnecessary delay.
At Phtaya, Deposit sits directly inside the Personal Center alongside Withdrawal, Betting Record, Account Record and other account tools. Several payment choices are available, so the best approach is not to rush toward the first familiar logo. Check the active route, the amount, and the payment instructions shown for that particular transaction before sending money.
Deposit at Phtaya: How the Cashier Works
The Deposit area is arranged so that the main decisions happen before any payment is sent. First comes the payment method. After that, you may see a second row of routes connected to the selected method, followed by preset amounts and the option to apply for the Deposit.
The flow is straightforward:
- Open Deposit from Personal Center.
- Choose an available payment method.
- Select the active payment route if more than one appears.
- Choose or enter the Deposit amount.
- Follow the payment instructions for that transaction.
- Complete the transfer.
- Return to the account and check the balance or Deposit History.
That order is important. A payment should begin with a Deposit request, not with an old QR image or previously saved payment destination.
Payment Methods Available
Current Deposit choices include several familiar e-wallet routes:
- GCashQR
- GCash
- GCASHPAY
- GCASHPAY QR
- Maya
- GoTyme
- GrabPay
The choice is less about finding a universally “best” option and more about using the method you can complete cleanly and verify afterward.
Someone already using Maya every day, for example, may prefer staying with Maya rather than switching simply because several GCash options appear. A familiar wallet makes it easier to confirm the amount, transaction time and payment reference if the Deposit later needs checking.
Multiple GCash Deposit Routes
Selecting GCashQR can reveal several routes, including labels such as GCASH-982, GCASH-qr, GCASH-tx, GCASH-lt, GCASH-UX, GCASH-ss, GCASH-q3, GCASH-ti, GCASH-h and GCASH-f.
Those labels should be treated as current cashier routes rather than permanent payment destinations.
There is no useful reason to guess what every internal label represents. The safer habit is much simpler: Use the route offered during the Deposit session you are completing.
A route used successfully yesterday should not automatically be reused today if a different option is now displayed.
Choosing a Deposit Method
Having several payment methods is useful only when the choice stays practical.
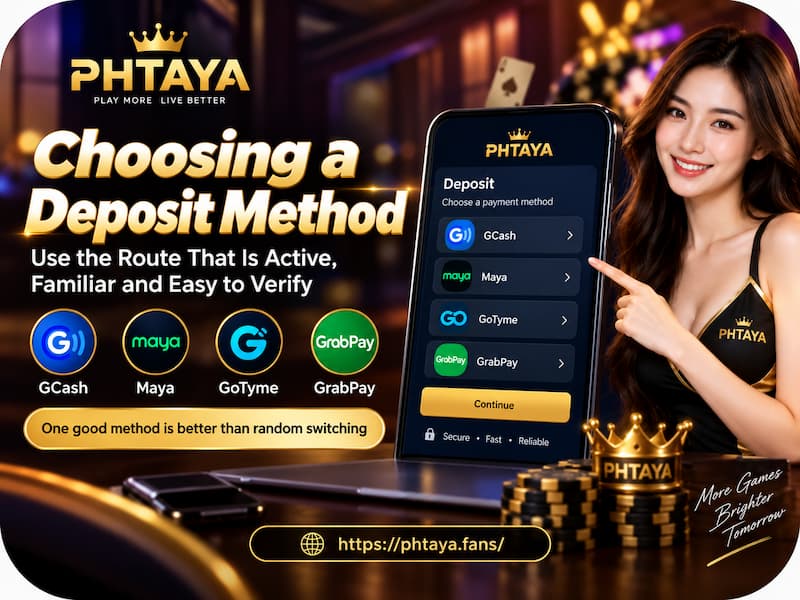
Choosing a Deposit Method
Before confirming a Deposit, compare three things: How you will pay, how easily you can verify the transaction, and whether the route is currently active.
For QR payments, scanning can be convenient because much of the payment information is carried into the wallet automatically. Other methods may suit someone who prefers following the payment flow directly through an e-wallet account.
A sensible Deposit method should meet a few basic conditions:
- You already have access to the required wallet.
- The route is visible during the current Deposit session.
- The amount you want to send is accepted.
- You can keep a transaction ID, receipt or payment record.
- The instructions are clear before money leaves your wallet.
Changing methods repeatedly does not make a Deposit faster. In practice, a familiar method with a clean transaction record is often easier to deal with than an unfamiliar option chosen only because it appears first.
Deposit Amounts and Limits
The cashier currently provides preset amounts of:
- ₱50
- ₱100
- ₱200
- ₱300
- ₱500
- ₱1,000
- ₱3,000
- ₱5,000
- ₱10,000
- ₱30,000
- ₱50,000
The displayed Deposit range runs from ₱50 to ₱50,000.
These buttons are shortcuts, not recommendations. Seeing ₱10,000 or ₱50,000 beside a smaller amount does not mean the larger Deposit is preferable.
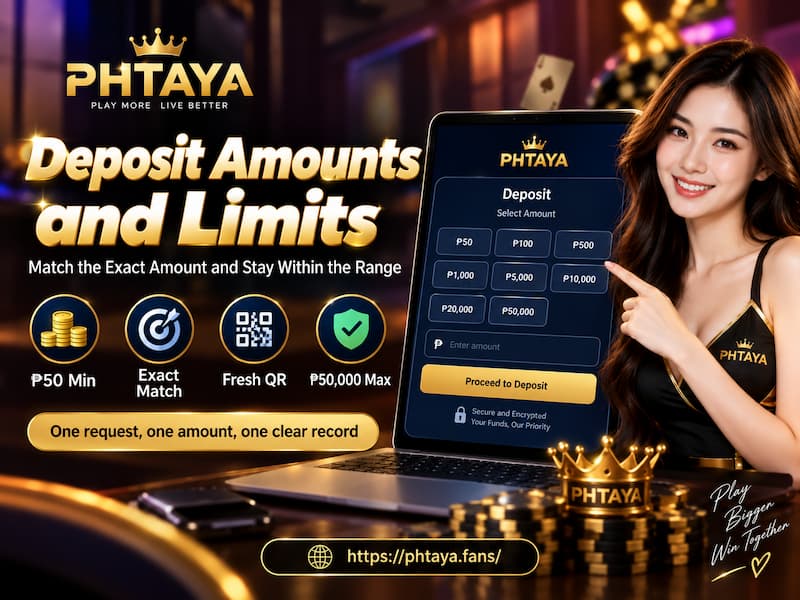
Deposit Amounts and Limits
Choose the amount first based on your own budget. Then use the cashier button that matches it.
For example, if the amount already set aside is ₱1,000, selecting ₱3,000 simply because it is available creates an unnecessary change to the original spending decision. Deposit controls work better when the budget is decided before reaching the cashier.
Limits can also depend on the active payment route. If the Deposit screen displays a different range during a future transaction, follow the information shown during that session rather than relying on an old screenshot.
How to Make a Deposit
1. Open Deposit in Personal Center
Use login, then select Deposit from the account menu. Before choosing an amount, make sure you are starting a fresh transaction. This reduces the temptation to reuse details saved from an earlier payment.
2. Select the Payment Method
Choose GCashQR, GCash, GCASHPAY, GCASHPAY QR, Maya, GoTyme, GrabPay or another method currently available.
If the method opens additional routes, select one of the choices displayed there.
3. Set the Deposit Amount
Pick one of the preset amounts or use the amount-entry option when available.
Check the figure again before continuing. This becomes especially important with QR Deposit because the requested amount and the amount transferred should match.
4. Complete the Payment
For a QR-based Deposit, generate or save the QR linked to the current request, then open the corresponding wallet and complete the payment.
Do not treat the QR like a permanent bank account number.
Practical rule: Use the newest QR code for the current Deposit and send exactly the amount submitted in the cashier.
So if the Deposit request is ₱1,000, the payment should also be ₱1,000. Sending ₱999 or ₱1,001 creates a mismatch that can make automatic matching less straightforward.
5. Confirm the Deposit
After completing the wallet payment, return to the account rather than immediately starting another request.
Check the balance first. If necessary, open Deposit History and compare the record with the receipt in your wallet.
Keep the transaction confirmation until the Deposit is fully reflected.
QR Deposit Rules That Help Prevent Delays
QR payments feel fast because scanning removes a lot of typing. The part that deserves attention is that a QR can belong to a specific transaction or current payment route.
Use the Newest QR
Phtaya specifically instructs users to pay with the newly saved QR code.
That means an old QR screenshot should not become a shortcut for future Deposits. Even if it worked before, the active receiving route may have changed.
A better routine takes only a few extra seconds:
- Start a new Deposit request.
- Select the payment route.
- Generate or save the current QR.
- Scan that QR.
- Confirm the recipient details shown in the wallet.
- Send the exact requested amount.
It is slightly more deliberate, but far easier than trying to trace a payment sent through outdated details.
Match the Exact Amount
Exact amount matching deserves equal attention.
Suppose you select ₱3,000 in the cashier but accidentally transfer ₱3,300. The wallet may show a successful transfer, yet the transaction no longer matches the original Deposit request cleanly.
A successful wallet payment and a correctly submitted Deposit are related, but they are not the same checkpoint.
Confirm both.
Checking a Deposit Before Paying Again
A delayed balance update can tempt someone to repeat the transaction immediately. That can turn one payment requiring verification into two separate transfers that now need to be identified.
Before creating another Deposit, check the first transaction carefully.
Ask:
- Did the wallet confirm that the payment was successful?
- Was the newest QR used?
- Did the transferred amount exactly match the Deposit request?
- Was the correct active route selected?
- Does Deposit History contain the request?
- Has the account balance already changed?
- Is the transaction ID still available?
Keep the payment receipt, amount, date, approximate time and transaction reference together.
For example, a screenshot saying only “Payment Successful” is less useful than a record that also shows ₱5,000, the payment time and the GCash reference number. Specific details make transaction checking much cleaner.
Deposit Bonuses and Budget Control
Deposit decisions should start with the amount you intended to fund, not with a promotion.
A bonus may look attractive, but increasing a Deposit purely to reach a promotional threshold changes the original budget. Before doing that, check the current terms attached to the offer.
Look for details such as:
- Minimum qualifying Deposit
- Bonus value
- Eligible games
- Turnover or wagering conditions
- Expiration period
- Withdrawal conditions
Promotions can change. The terms attached to the offer at the time of Deposit should take priority over an older screenshot, forwarded message or previous campaign.
The same principle applies to the preset Deposit buttons: Convenience should not decide the bankroll.
Deposit Checklist Before Confirming
A short check before payment can save considerably more time afterward:
- Payment method is correct.
- Current payment route is selected.
- Deposit amount is within the displayed limit.
- Wallet payment matches the submitted amount exactly.
- A fresh QR is being used where required.
- Recipient details have been checked.
- Payment receipt or reference number can be retained.
- Deposit History is checked after payment.
The smoothest Deposit is usually the least dramatic one: One request, one current payment route, one exact amount and one clear transaction record.